How to Use Windows 10 Without a Microsoft Account: A Simple Guide
In today’s digital world, privacy and control over personal data are more important than ever. When setting up a new computer or reinstalling Windows 10, you may have noticed that Microsoft encourages you to create or sign in with a Microsoft account. This might be convenient for some users, but not everyone wants their system linked to online services, especially when privacy is a priority. Fortunately, there’s a way to use Windows 10 without creating a Microsoft account, opting instead for a local account that gives you full control over your data.
Let’s dive into the step-by-step process and learn how to use Windows 10 without a Microsoft account., so you can gain control over your device and manage it the way you want.
Why Choose a Local Account Over a Microsoft Account?
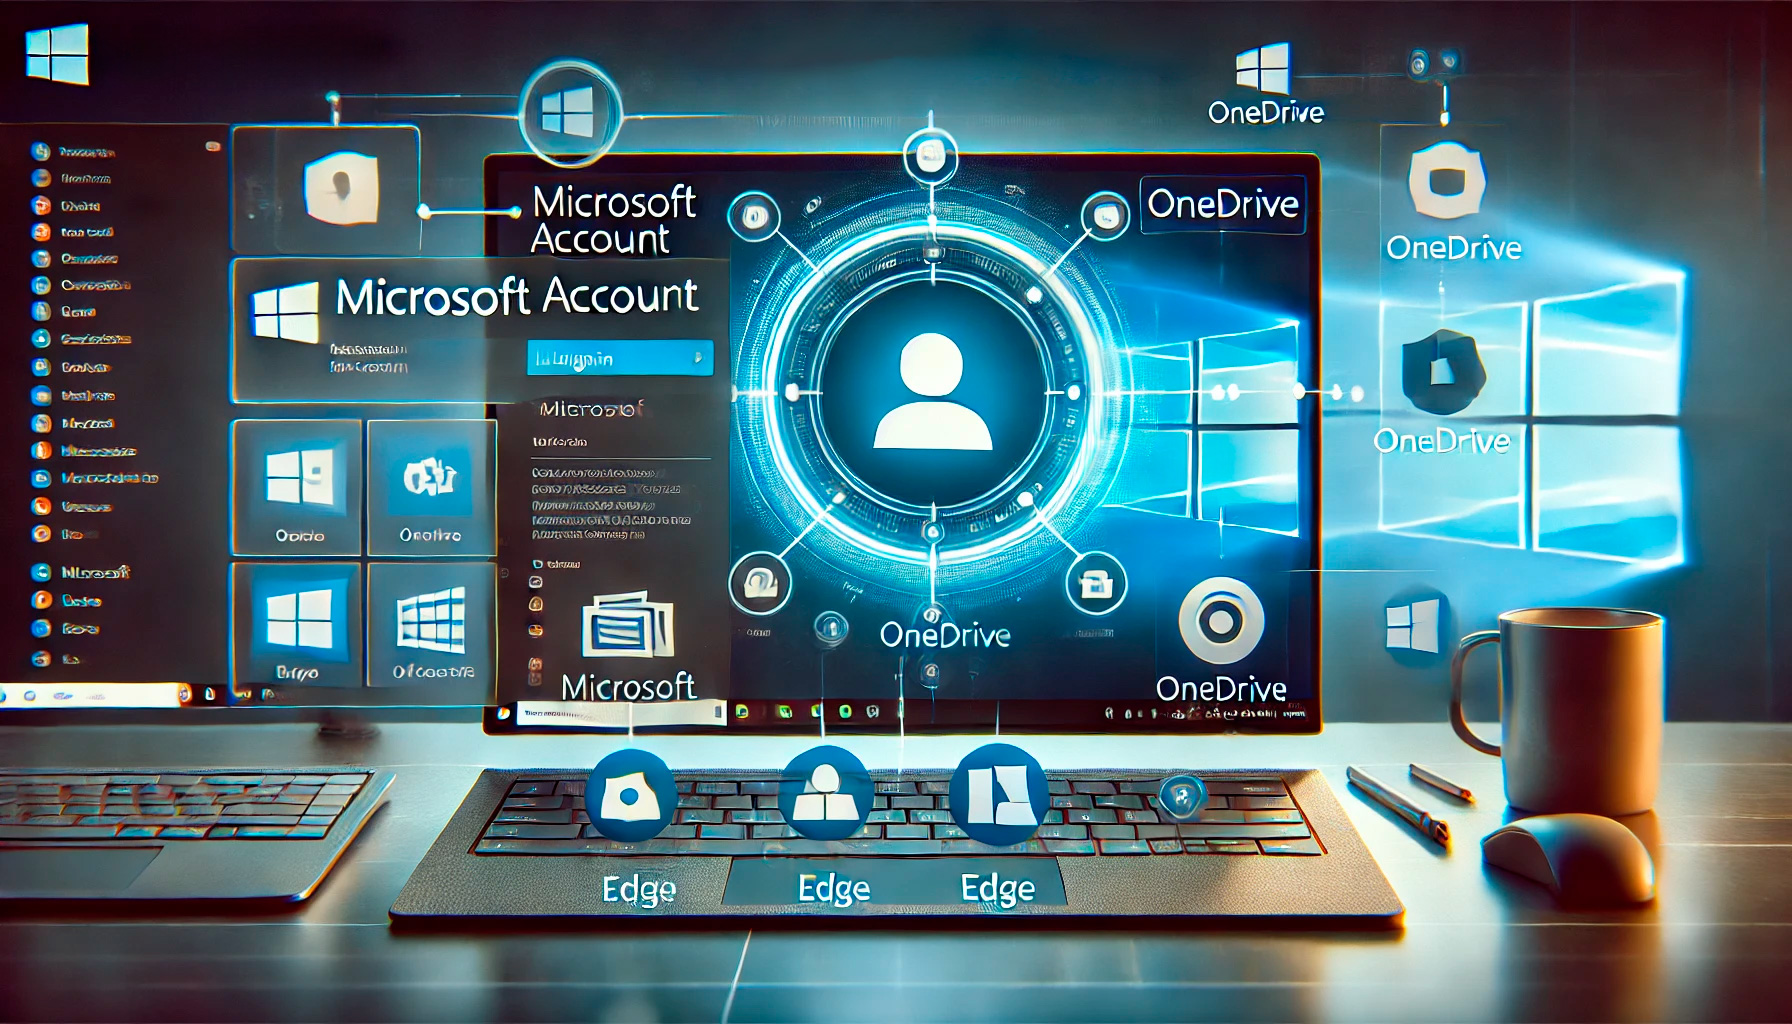
When you set up a Microsoft account on Windows 10, the system is automatically connected to various cloud-based services such as OneDrive, Office 365, and the Microsoft Store. While these features can be useful, they also mean that much of your activity is synced online, potentially compromising your privacy. A local account offers several advantages:
- Privacy: By using a local account, you limit the amount of personal data Microsoft collects. There’s no need to share your browsing history, usage data, or app preferences with Microsoft’s cloud.
- Offline Use: A local account doesn’t require an internet connection to function, which is ideal if you prefer using your computer offline or have limited internet access.
- More Control: With a local account, you control your data storage and access. You can save files locally without automatically syncing them to OneDrive or other cloud services.
- Simplicity: Some users prefer not having to remember multiple passwords or deal with account recovery options. A local account streamlines your login process.
How to Install and Set Up Windows 10 Without a Microsoft Account
The process of bypassing the Microsoft account setup is straightforward. Follow these steps to install Windows 10 using a local account:
1. Begin the Windows Installation
If you’re setting up a new computer or reinstalling Windows 10, start by booting your system with the Windows 10 installation media. This can be a USB drive or a DVD, depending on how you’ve created your installation media.
Once the installation process begins, you’ll be asked to choose your language, time, and keyboard preferences. After that, click “Next” and then “Install Now” to continue with the setup.
2. Skip the Product Key Entry (If Needed)
If you’re installing Windows 10 for the first time, you may be prompted to enter a product key. If you already have Windows 10 activated on your machine, you can click the “I don’t have a product key” option. Windows will activate automatically once you’re connected to the internet.
3. Select Your Version of Windows
Next, you’ll be prompted to choose which version of Windows 10 you want to install (Home, Pro, etc.). Choose the one that corresponds to your license, then click “Next.”
4. Decline the Microsoft Account Sign-In
Once Windows finishes copying files and setting up the initial components, you’ll arrive at the Microsoft account setup page. Here, the system will prompt you to sign in with a Microsoft account. To bypass this, look for the option labeled “Offline Account” or “Limited Experience” (the wording may vary depending on the Windows version).
Clicking on this option allows you to skip the Microsoft sign-in process. Don’t worry—this won’t affect your Windows installation. It simply bypasses the account setup process and lets you proceed with a local account instead.
5. Create a Local Account
After opting for an offline account, you’ll be asked to create a username and password for your local account. Choose a username that you’ll easily remember and a strong password for security purposes. Once that’s done, confirm your password and set up three security questions in case you need to recover your account in the future.
Congratulations! You’ve now set up your Windows 10 system with a local account, bypassing the need for a Microsoft account.
How to Switch From a Microsoft Account to a Local Account
If you’ve already set up your system with a Microsoft account but now wish to switch to a local account, don’t worry—you can easily make the change without reinstalling Windows. Follow these steps:
1. Open Settings
First, open the Windows 10 Settings app by clicking the Start menu and selecting the gear icon. Alternatively, you can press Windows + I on your keyboard to open Settings directly.
2. Navigate to Accounts
Once you’re in the Settings app, select “Accounts.” Here, you’ll see various options related to your user accounts and sign-in preferences.
3. Select “Your Info”
Within the “Accounts” section, click on the “Your Info” tab. This will show information about your current account. If you’re currently signed in with a Microsoft account, it will be indicated at the top of the page.
4. Switch to a Local Account
To switch to a local account, click on the “Sign in with a local account instead” option. Windows will prompt you to enter your current Microsoft account password for security reasons.
Once you’ve entered your password, you’ll be asked to create a local account with a username, password, and security questions. Complete these fields, then click “Next” to finalize the switch.
Benefits of Using a Local Account in Windows 10
Switching to a local account offers several practical advantages. Here’s why many users prefer this setup:
- Greater Privacy Control: By not linking your Windows 10 account to the cloud, you limit data sharing and online tracking.
- Fewer Notifications: With a local account, you’ll avoid receiving frequent prompts to log into or sync with Microsoft services.
- No Password Reset Worries: Local accounts don’t require recovery through email or phone verification, simplifying your account management.
- Offline Functionality: A local account allows you to use your computer even when you’re not connected to the internet.
What You Miss Out On Without a Microsoft Account
Of course, there are some downsides to not using a Microsoft account, especially if you rely on certain features that require cloud integration. Here’s what you may miss out on by opting for a local account:
- OneDrive Integration: If you don’t use a Microsoft account, you won’t have automatic access to OneDrive, Microsoft’s cloud storage service. This means you’ll need to manually manage your file backups.
- Microsoft Store Access: While you can still browse the Microsoft Store without an account, certain apps and features may require you to sign in before downloading or purchasing.
- Syncing Across Devices: A Microsoft account allows you to sync settings, files, and preferences across multiple devices. With a local account, you lose this cross-device functionality.
- Cortana Personalization: Cortana, Microsoft’s virtual assistant, relies heavily on a Microsoft account for personalized recommendations and task management. Without it, Cortana’s features are limited.
How to Ensure Security With a Local Account
Although using a local account increases privacy, it’s still important to follow good security practices to protect your data. Here are some tips for maintaining a secure local account:
- Use a Strong Password: Ensure your local account is protected with a robust password, combining letters, numbers, and special characters.
- Enable Two-Factor Authentication (If Available): While local accounts don’t have traditional two-factor authentication, some features, like BitLocker, can add an extra layer of protection.
- Keep Your System Updated: Regularly check for and install Windows 10 updates to ensure that your system has the latest security patches.
- Use Local Backups: Without OneDrive integration, it’s essential to back up your important files manually to an external drive or other secure locations.
Conclusion: Enjoy Windows 10 Without a Microsoft Account
Using Windows 10 without a Microsoft account is an excellent way to maintain your privacy and control over your data. Whether you’re setting up a new system or switching from a Microsoft account to a local account, the process is simple and straightforward. By choosing a local account, you can enjoy the full functionality of Windows 10 without the need to sync your personal information
with Microsoft’s cloud services.
So, if privacy and simplicity are your priorities, follow the steps outlined in this guide to start using Windows 10 without a Microsoft account. It’s a great way to enjoy a more personalized and secure computing experience!